How to Create Your Own Bracelet

Can you imagine having a custom-made bracelet made from your design? The possibilities are endless. With today’s technology, anyone can create their very own unique jewelry piece. Even better, it only takes just a few minutes of your time to get started.
Customized bracelets represent an extremely lucrative opportunity. While standard, mass-produced bracelets are affordable and convenient, they come with some drawbacks. They lack uniqueness and oftentimes don’t look good on everybody.
Plus, they tend to fall apart after repeated wear. On the other hand, customized bracelets are designed specifically for each person. This means that you’ll never have another one exactly like yours. In addition, these uniquely crafted pieces are durable and long-lasting.
How to Create Your Bracelet
Creating your custom bracelet is remarkably simple. You don’t even need any special tools or skills. Just follow these easy steps:
Step 1. Select your materials
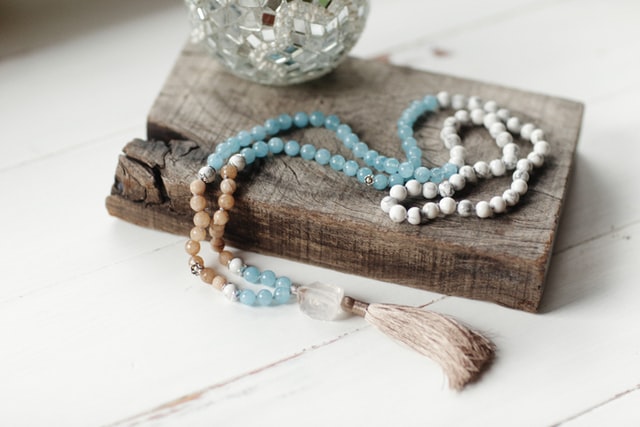
Once you’ve decided what type of bracelet you want to make – be it a basic charm bracelet or something more detailed and intricate – begin selecting the components you need. Don’t worry about the price yet; instead, focus on whether you’d like to use beads vs. wire.
For example, if you’d like to try metal charms, choose sterling silver because this material will provide the best results when using the included pliers. If you prefer to go bead free, consider going for 14k gold so that your finished product looks as great as it feels.
Before embarking on your next adventure into jewelry making, determine which tool(s) you’re most comfortable working with. Do you like using your hands alone? Or would you rather rely on extra equipment? Either way should work fine visit casino en ligne for more.
Step 2. Cut your supplies
Cutting your supplies, such as jump rings, swivels, and clasps, isn’t quite as difficult as it sounds. Simply grab whatever items you need and set up a workspace in your home or office where you’ll use them most often. It doesn’t matter which room you choose – you should feel comfortable placing all your materials there.
Keep track of everything you cut, especially the end cuts on your supplies. After you finish cutting, you may find yourself forgetting how many sections you created out of each item. The more organized you are now, the less likely it is that you’ll completely lose count later.
If your crafting space includes several tables, keep multiple tools handy. Having too many items strewn across your entire area can become overwhelming. Instead, make sure that nothing is stored above waist height and that you have enough space below that level.
Step 3. Start assembling
Now that you know the basics, it’s time to start putting things together. Begin by creating a chain, then attach a clasp (or two). Next, add jump rings and connect them. Once you’ve completed the bottom row, move on to the top row. Remember to leave at least one gap between connections – this will allow you to easily swap individual pieces without losing any parts within the chain.
Now take a step back from your project to assess it. Is it looking neat and well-organized? Are you happy with its design overall? Only once you think you have a winner do you proceed to the next step.
Step 4. Repeat Step 3 until satisfied
At this point, you probably won’t feel much pressure to create additional chains and pieces. However, you might realize that others could benefit from your new creation. To help you produce more designs, repeat Steps 3 and 4 again before moving on to the next item.
As soon as the first prototype is complete, give it a thorough test drive. Does it fit comfortably around both wrists? How many times did you forget to adjust a clasp? These questions may seem obvious, but they really are important. They will help you better understand what the finished version of your piece will look like.